Assembling IKEA furniture properly: 5 tips for a clean result
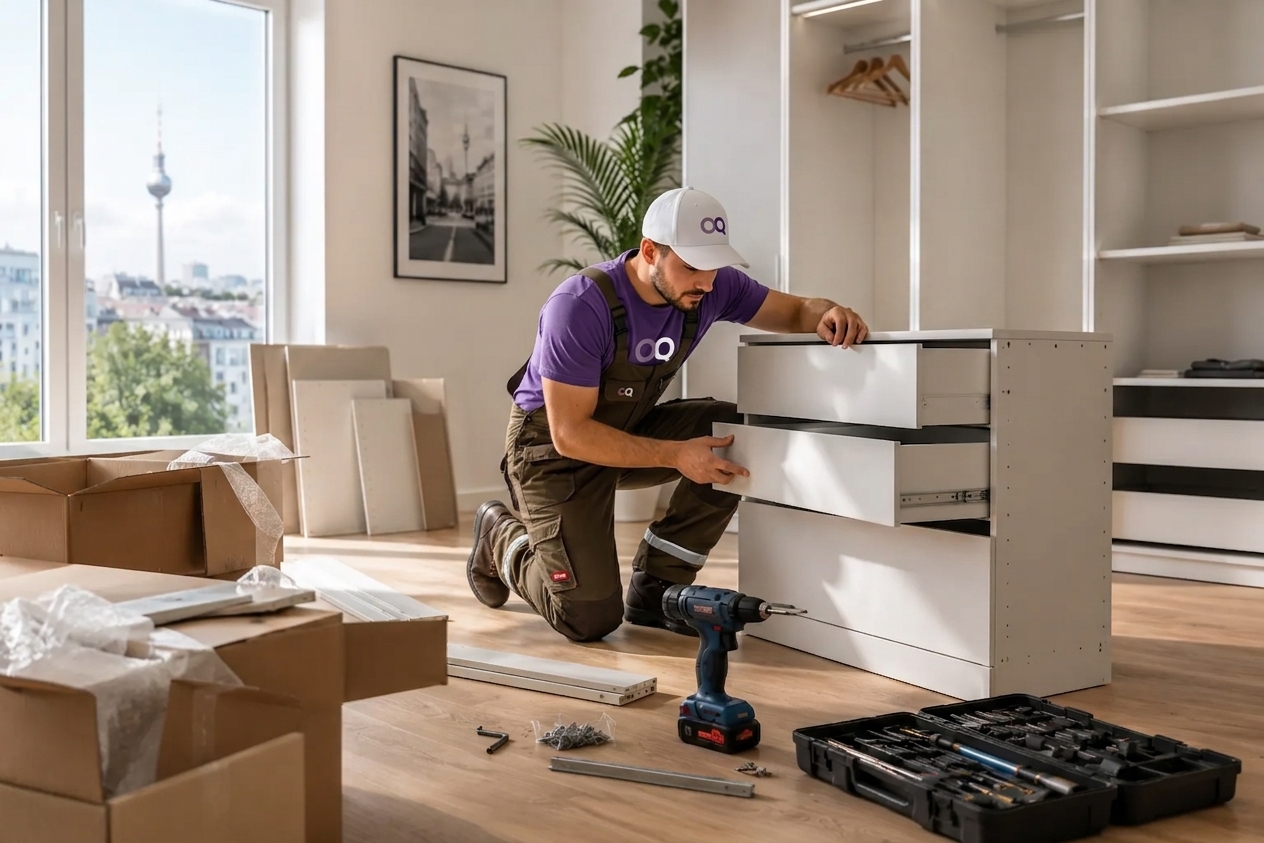
Crooked wardrobe doors, wobbly shelves, a carcass that won't stand up: most problems with furniture assembly arise in the first ten minutes — long before the piece is standing. These five tips come from our everyday installation work and make sure IKEA furniture and other flat-pack kits stand sturdy and straight.
Tip 1: Check the parts before the first screw goes in
Unpack all the boxes completely and compare the contents with the parts list on the first page of the instructions. If something is missing or damaged, report it now — otherwise you'll be left with a half-finished piece of furniture in the middle of assembly.
Sort screws, dowels and fittings by type, for example in a muffin tin or box lids. That saves you searching for the one right screw later.
Tip 2: Build in the right place on a level surface
Large carcasses such as wardrobes are assembled lying down and only stood up at the end. So build in the room where the furniture will stand if possible — a finished wardrobe often won't fit through the door.
Check the ceiling height beforehand: when standing it up, a wardrobe needs more space than its actual height because it pivots on the diagonal. If the ceiling is too low, the wardrobe has to be assembled upright. Cover the floor with cardboard so neither the furniture nor the parquet gets scratched.
Tip 3: Cordless screwdriver yes — but gently
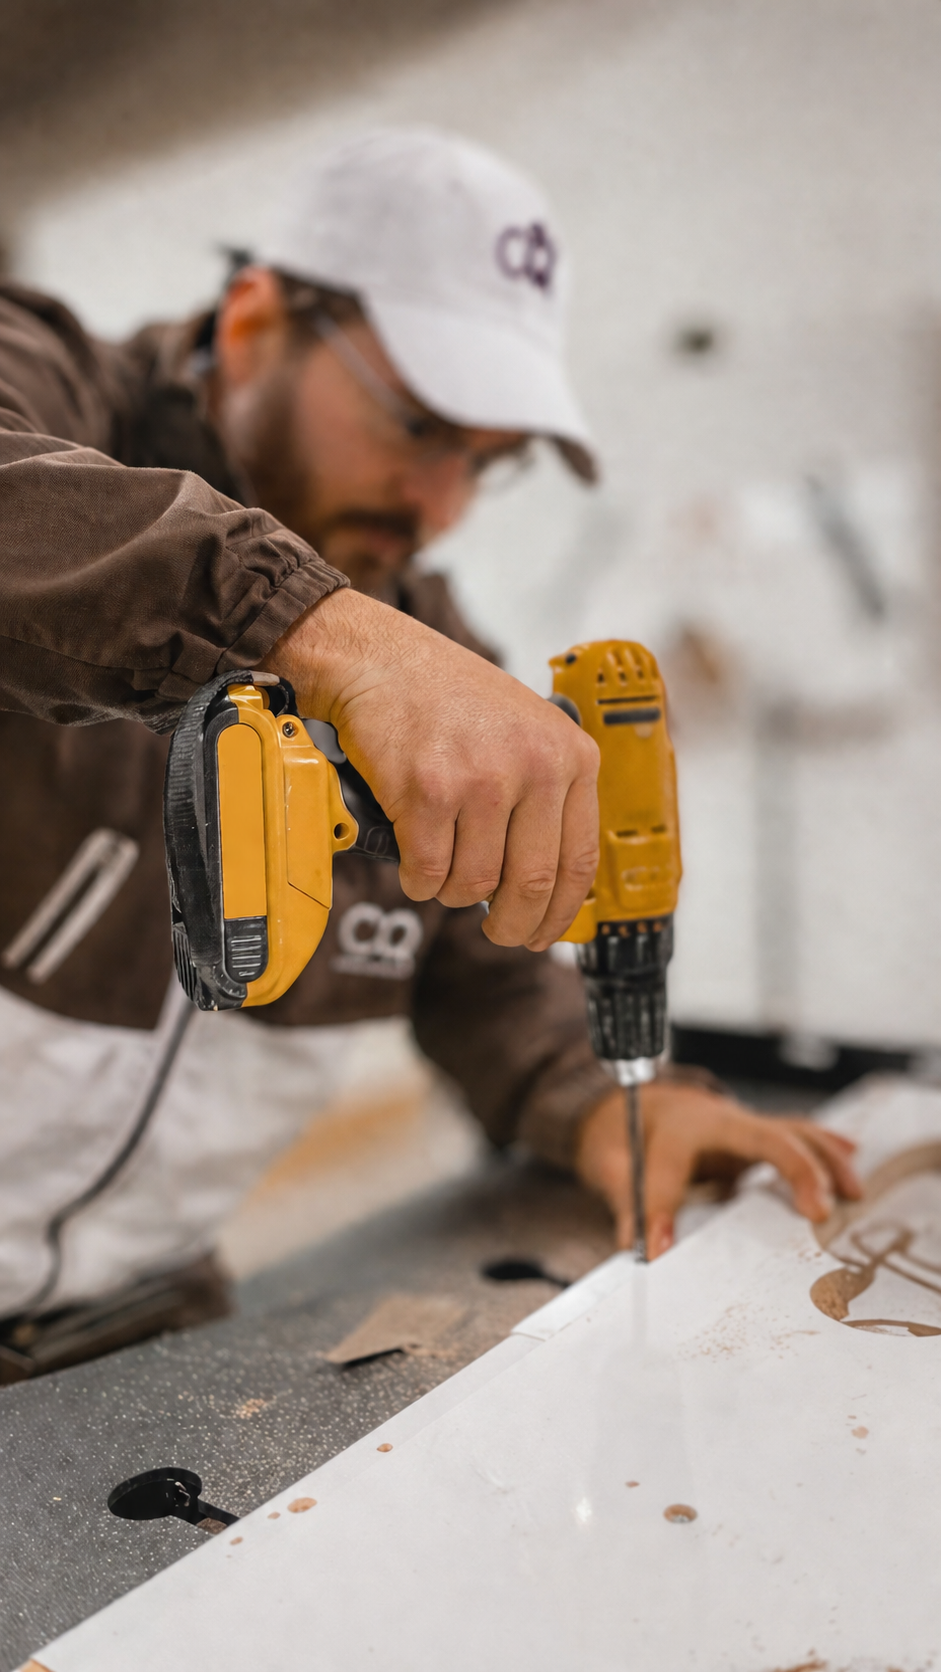
A cordless screwdriver saves time, but chipboard doesn't forgive overtightening: once the thread is stripped, the screw won't hold. Set the torque clutch to a low level and tighten the last few turns by hand.
Only turn cam locks — the round metal fittings — until they feel firm. Turned further, they loosen again or damage the panel.
Tip 4: Check it's square before the back panel goes on
The back panel gives the carcass its stability — and fixes it in whatever shape it's in at that moment. So measure both diagonals first: if they're the same length, the carcass is square. Only then nail or slide in the back panel.
A carcass fixed out of square shows up later as doors that won't close and drawers that stick. That can hardly be corrected afterwards.
Tip 5: Always secure tall furniture to the wall
Shelves, chests of drawers and wardrobes can tip over if a child pulls on them or all the drawers are open at once. The anti-tip fitting supplied should therefore always be installed.
Screws and wall plugs for the wall are usually not included because they depend on the type of wall. Check what your wall is made of and choose suitable fixings:
- Concrete and solid brick: universal or expansion plugs
- Plasterboard: cavity wall plugs or fixing into the stud frame
- Perforated brick and aerated concrete: special plugs with a long expansion zone
- Old buildings with unknown construction: drill a test hole first and ask a professional if in doubt
When a professional is worth it
Almost anyone can manage a single shelf. With large wardrobe systems with sliding doors, several pieces at once or when time is short, experienced installers with the right tools save a lot of time and nerves — and take care of the wall fixing too.
Rather have it assembled?
We assemble IKEA furniture and other flat-pack kits quickly, cleanly and securely fixed to the wall.